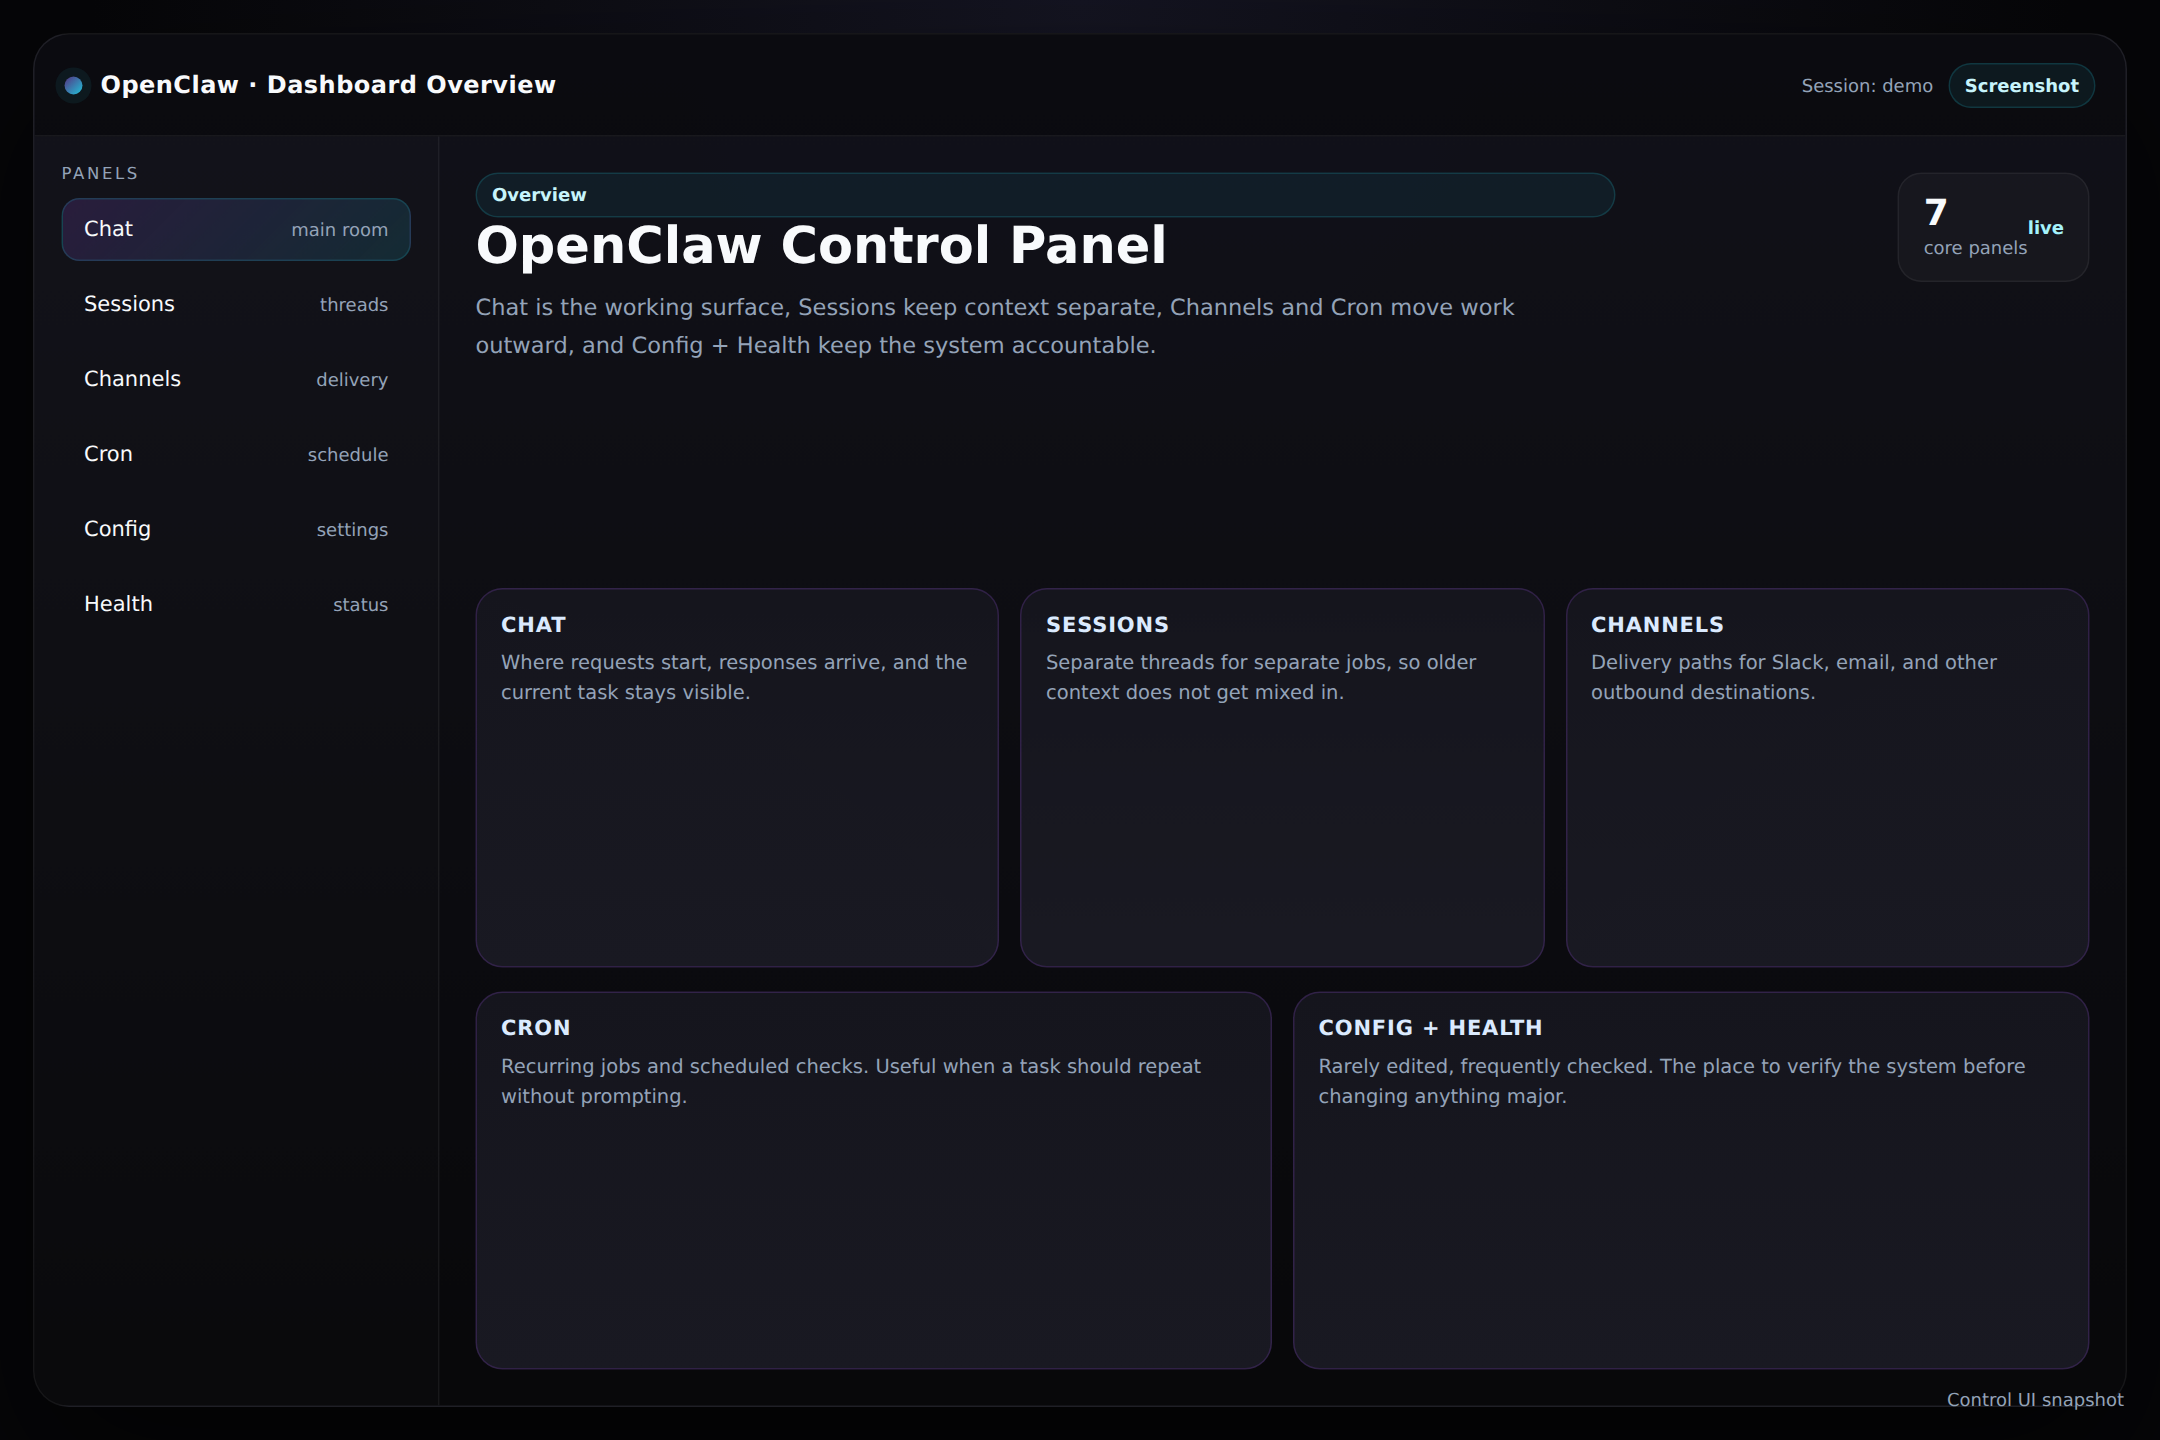
Start with the screenshot, then read the short explanation underneath.
This format is intentionally hybrid. The hub gives you the big picture, while each subpage focuses on one panel and one job. You do not need to read everything in order, but the order below is the easiest way to learn the interface.
- Open the chat panel first so you know where work starts and stops.
- Move to sessions so you can keep separate threads clean and easy to find later.
- Look at skills, then channels and cron, so capability and automation make sense.
- Finish with settings and health so you know what to check when something feels off.
What this page is for
A quick entry point for people who learn best by seeing the screen before they read the explanation.
Best for
New users, team members, and anyone who wants a bookmarkable map of the dashboard.
Why screenshots
People remember where things are faster when they can match a description to a real visual layout.
Tour Stops
Chat
Where the work happens. Learn how the conversation area, composer, and stop control fit together.
Config + Health
What to touch rarely, what to monitor often, and what to check when things slow down.
Recommended path: Chat → Sessions → Channels + Cron → Config + Health. That order matches how people usually learn the dashboard in real life.